Armixxx turns long NSFW videos into shorts and posts them across multiple platforms using AI agents.
In the app: everything lives on a creator's page — open Creators, pick a creator, and you will find sessions, proxies, uploads and settings there.
Add a creator, give it a proxy, link the platforms it posts to and connect a session for each.
Upload long videos. AI agents analyse, score and slice them into shorts, then write titles and tags.
Review the shorts, then post them to any platform with an active session — now or on a schedule.
Calendars and the health panel show what has been posted, what is scheduled and which sessions need attention.
The five steps below take a brand-new creator from zero to its first uploaded short. Each step has a screenshot from the real app, and step 4 has a video.
Each creator posts from its own proxy, so every platform sees the same stable IP for that performer.
In the app: creator page → Creator Controls → Sessions & Proxies → the Proxies tab.
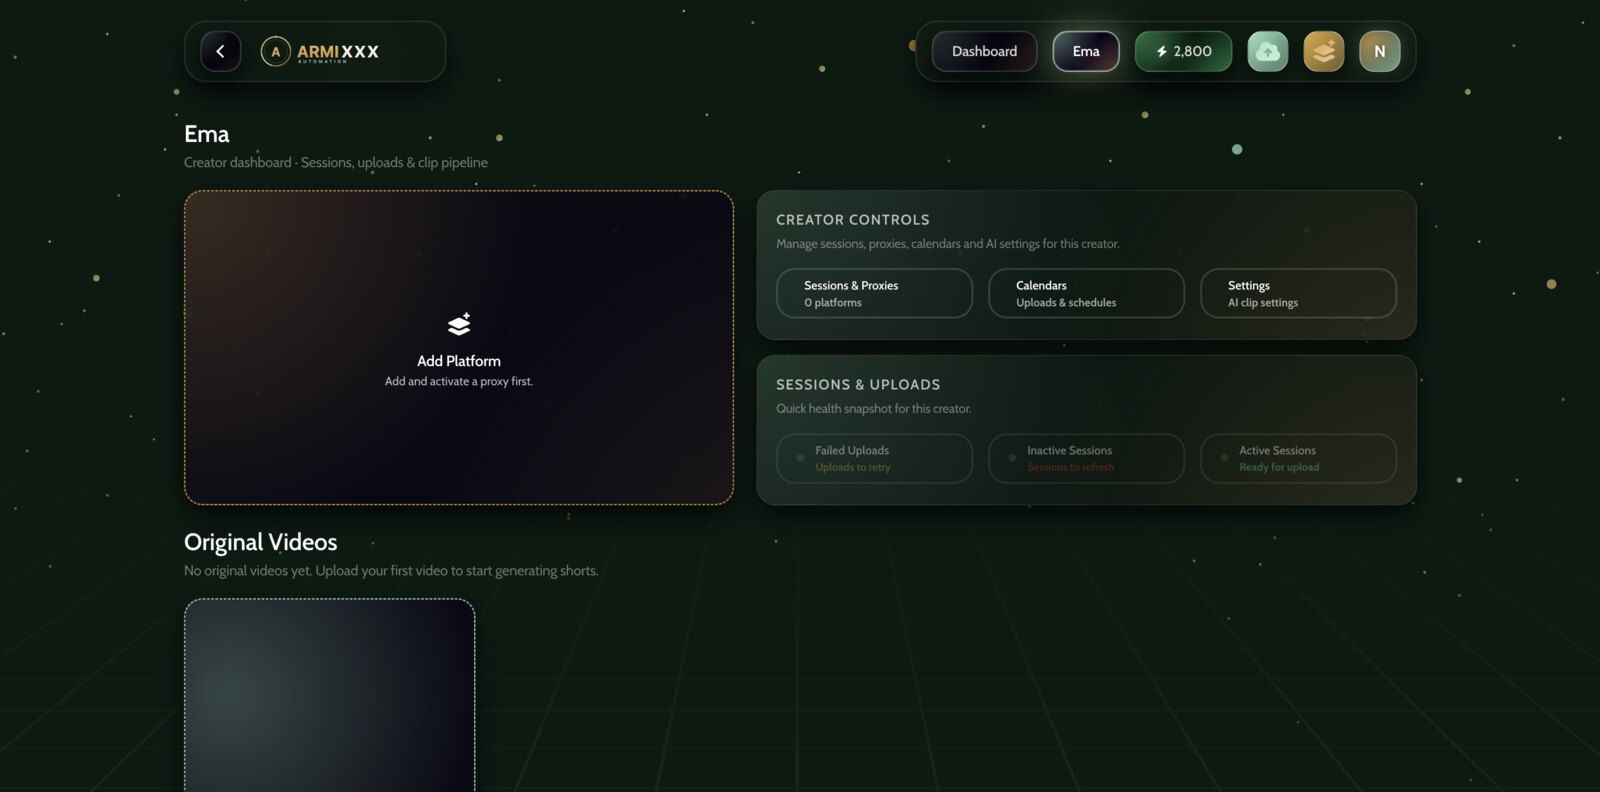
Before a proxy exists, the big Add Platform card on the left says “Add and activate a proxy first” — platforms are locked until this step is done.
In Creator Controls, click Sessions & Proxies. A panel opens below with three tabs.
Open the Proxies tab.
Paste your proxy in the format HOST:PORT:USER:PASS — for example 85.120.130.21:51523:myuser:mypass — and click Add Proxy.
Use Test on the new proxy: Armixxx connects through it and shows the exit IP it saw. Then Activate it.
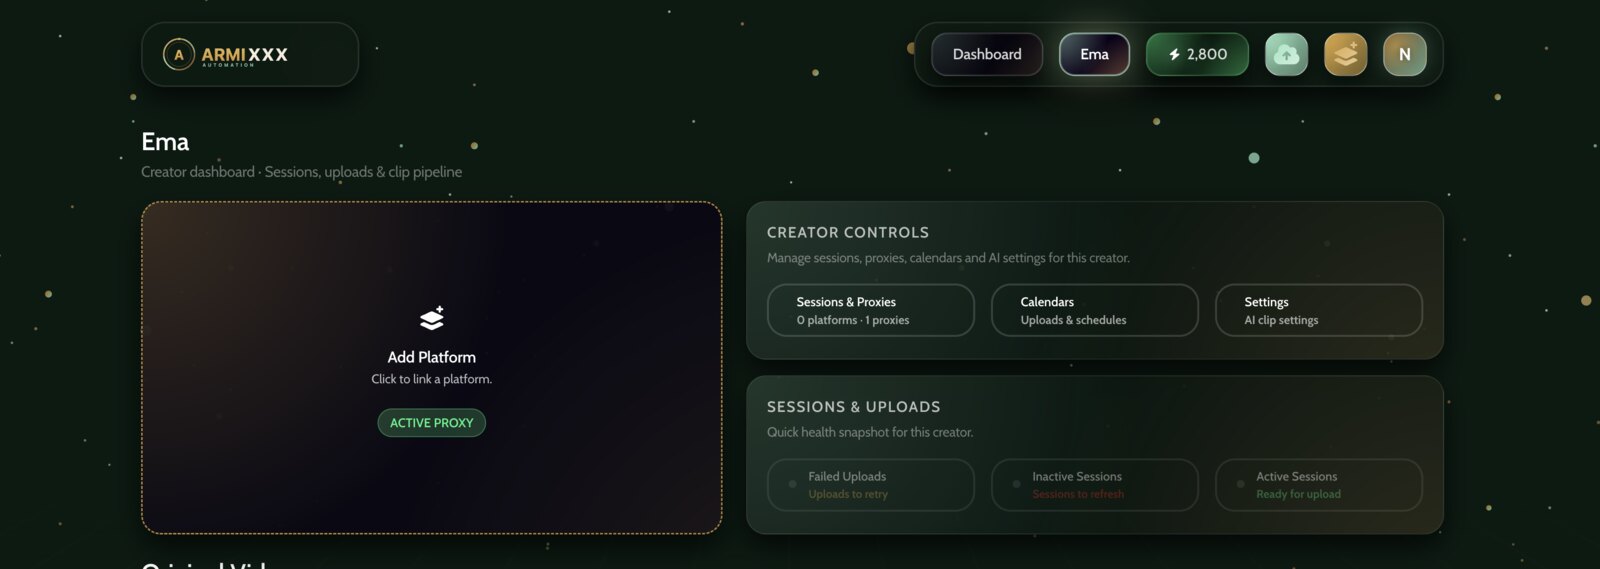
After activation the card shows an ACTIVE PROXY badge and the text changes to “Click to link a platform”. Creator Controls now reads “0 platforms · 1 proxies”.
Use HTTP/S proxies. Paste the HTTP port, not the SOCKS5 one, if your provider gives you both. One active proxy per creator is enough; you can keep spares and switch the active one at any time.
Tell Armixxx which platforms this creator posts to, and where its profile lives on each.
In the app: click the big Add Platform card on the creator page, or the yellow button in the header (three stacked layers with a plus sign).
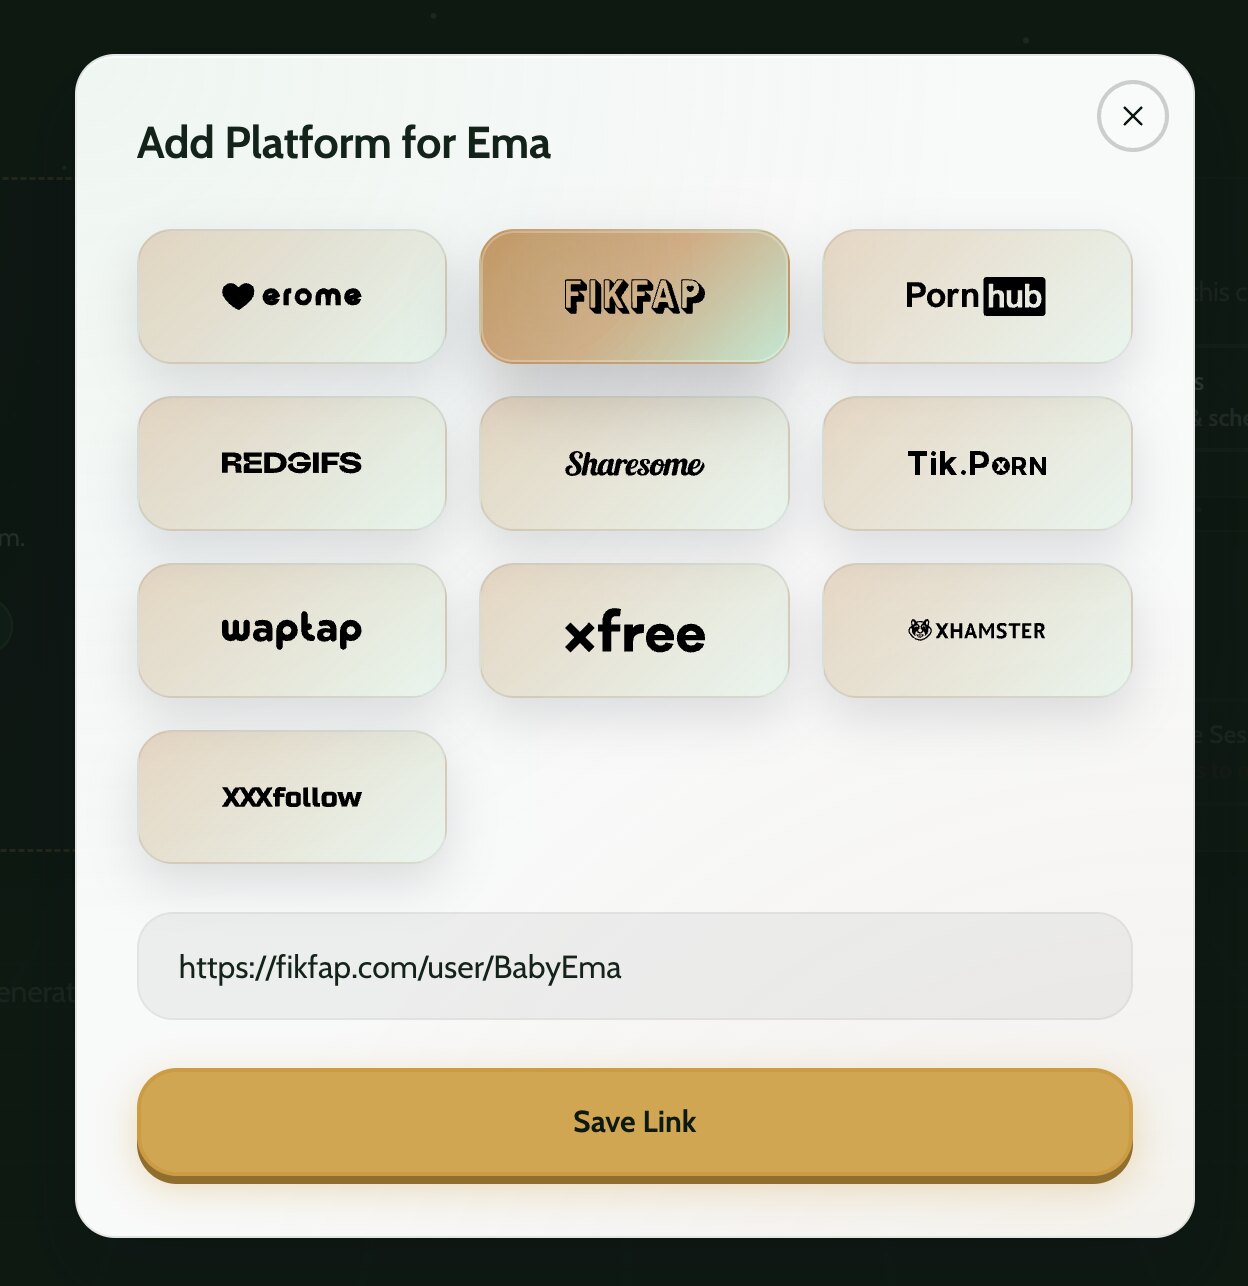
Add Platform dialog. Pick one platform, paste the creator's profile URL on that platform, then Save Link.
Open the dialog from the card or the yellow header button.
Click the platform you want to connect — it highlights in gold.
Paste the creator's profile URL on that platform, for example https://fikfap.com/user/BabyEma.
Click Save Link. Repeat for every platform this creator uses.
Linking a platform only records where the profile is. Uploads need a session for that platform — that is step 4. Until then the platform shows as inactive.
A session is how Armixxx posts as the creator without ever knowing the password. You log in once in a real browser; the helper exports that login as a JSON you paste into Armixxx.
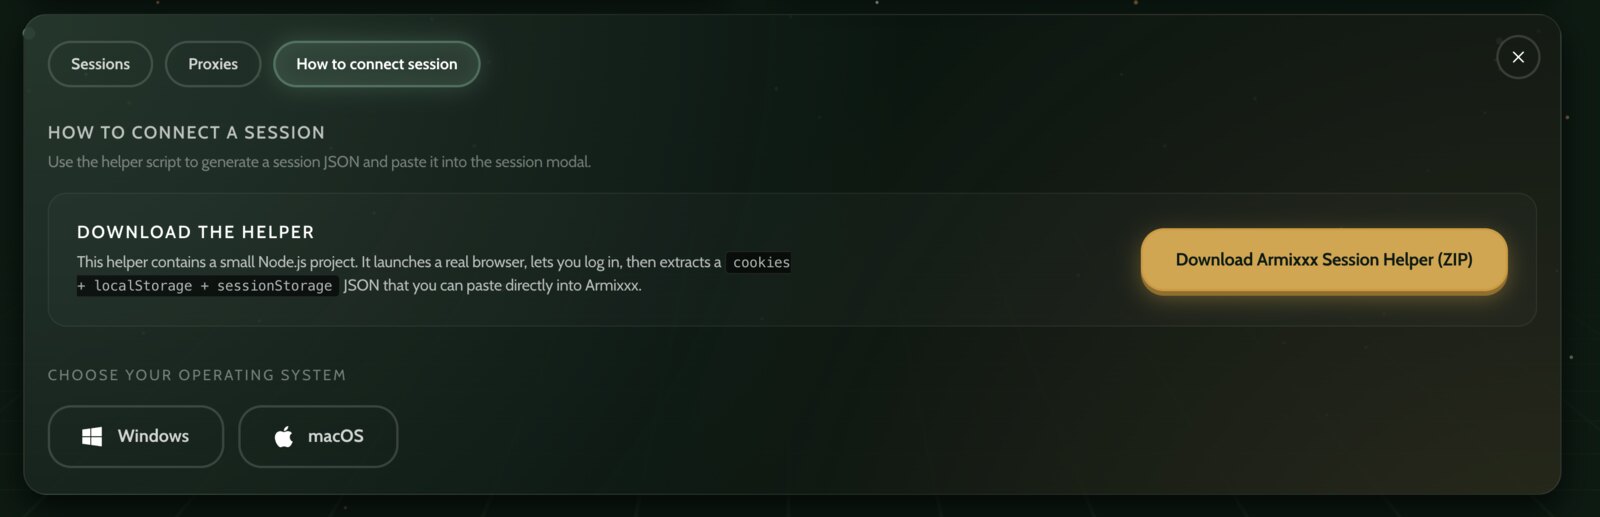
In the app: Sessions & Proxies → the How to connect session tab → Download Armixxx Session Helper (ZIP).
How to connect session. Download the helper, then pick your operating system to see the exact commands for your machine.
You need Node.js installed (version 18 or newer) on the computer where you run the helper. Get it from nodejs.org — the “LTS” download is the right one. You only do this once.
1:37Watch the whole flow: downloading the helper, running it, logging in, copying the JSON and saving the session in Armixxx.
Download and unzip the helper. Click Download Armixxx Session Helper (ZIP), then extract it. You get a folder named armixxx-session-helper.
Install it once. Open a terminal in that folder and run:
macOS: cd ~/Downloads/armixxx-session-helper then npm install
Windows: cd %HOMEPATH%\Downloads\armixxx-session-helper then npm install
Run it. In the same folder, run npm start. The helper asks how it should connect:
1 — Automatic proxy from Armixxx (recommended): paste the Creator API key shown in the How to connect session tab. The helper then uses the proxy you activated in step 2, so the login comes from the same IP the uploads will.
2 — Manual proxy: paste a HOST:PORT:USER:PASS string yourself.
3 — No proxy: use your own connection. Fine for testing, not recommended for real accounts.
Pick the platform when asked (FikFap, TikPorn, Xfree…). A real browser window opens on that platform.
Log in normally in that browser — password, 2FA, captcha, whatever the platform asks. Keep the window open.
Back in the terminal, press ENTER. The helper prints a JSON object with cookies, localStorage and sessionStorage. Copy all of it, from the opening { to the closing }.
Save it in Armixxx. Go to Sessions & Proxies → Sessions tab, click the platform's session button, paste the JSON into the box and click Test & Save Session. Armixxx opens the platform through your proxy with that session and confirms it works before saving.
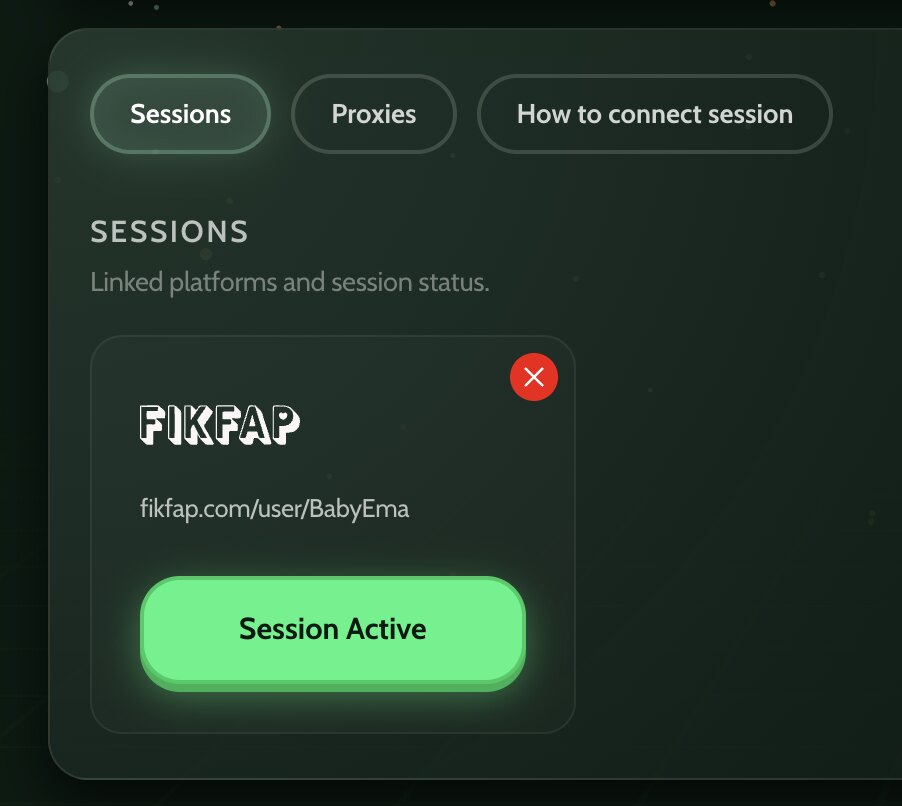
Done. The platform card turns green with Session Active. It now appears in the upload dialog and in the Active Sessions counter.
Your password never leaves your browser. The helper opens the platform's own login page; Armixxx only receives the session JSON produced after you are already logged in. You can delete or replace a session any time from the Sessions tab.
Sessions expire when the platform logs you out — typically after weeks, sometimes after a password change. When that happens the card turns red under Inactive Sessions; just run the helper again.
With a proxy, a platform and a session in place, the creator is ready for content.
In the app: scroll to Original Videos on the creator page → the Upload Video card, or the cloud button in the header.
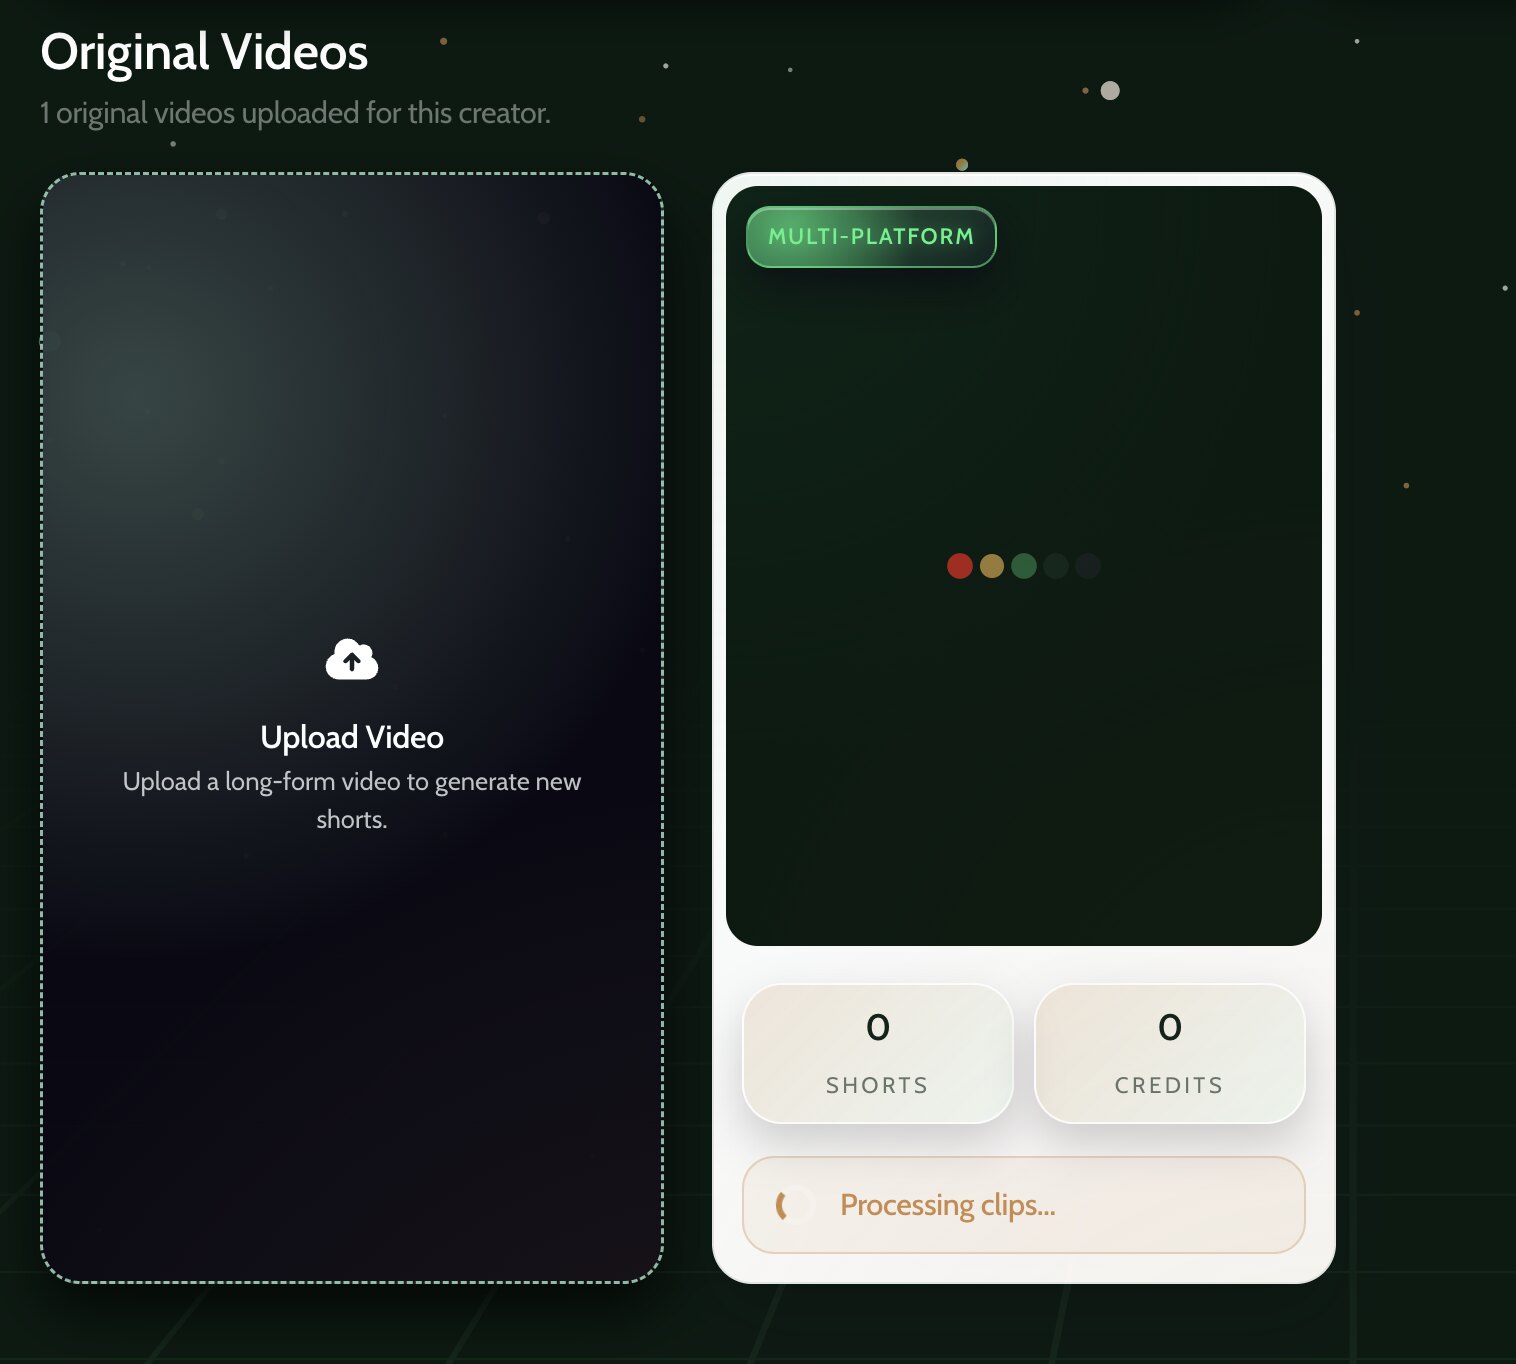
Original Videos. On the left, the upload card. On the right, a video that just finished uploading — the counters fill in as the AI pipeline runs.
Click Upload Video and pick a long video from your computer. Large files are uploaded in chunks, so a dropped connection resumes instead of starting over.
Leave the page if you like — processing continues on the server. The card shows Processing clips… while the agents work.
When it finishes, the card shows how many shorts were generated and how many credits were used. Click it to review them.
Google Drive and Dropbox import are visible in the upload dialog but marked Soon; for now, upload from your device.
Every long video passes through the same AI pipeline before it becomes shorts.
In the app: the pipeline runs on its own after every upload. Open an Original Video card to see the results.
Observer: ingests the long video, normalises it and extracts one frame every couple of seconds.
Scoring: the scoring model rates every frame from 1 to 10 for how strong a hook it is. This is where most credits go — it looks at the whole video.
Slicer: finds the windows with the best average score, within your min / max clip length, and cuts them into shorts.
Metadata & tags: for each short, the metadata model writes a title and tags in the style you chose in AI settings.
Distributor: prepares each short for upload to the platforms with an active session.
Credits are consumed only when AI agents actually work on your content — scoring and writing metadata. Storing videos, cutting clips and uploading cost nothing.
One page per creator, four areas. Once you know them, you know the whole app.
In the app: Creators → click any creator.
Platforms card
Top left. Starts as Add Platform; once platforms are linked it lists them with their session status.
Creator Controls
Top right. Three buttons: Sessions & Proxies, Calendars, Settings. Each opens a panel below.
Sessions & Uploads
Health snapshot: Failed Uploads, Inactive Sessions, Active Sessions. Anything red needs you.
Original Videos
Below. The upload card plus one card per long video, each with its shorts, credits used and upload progress.
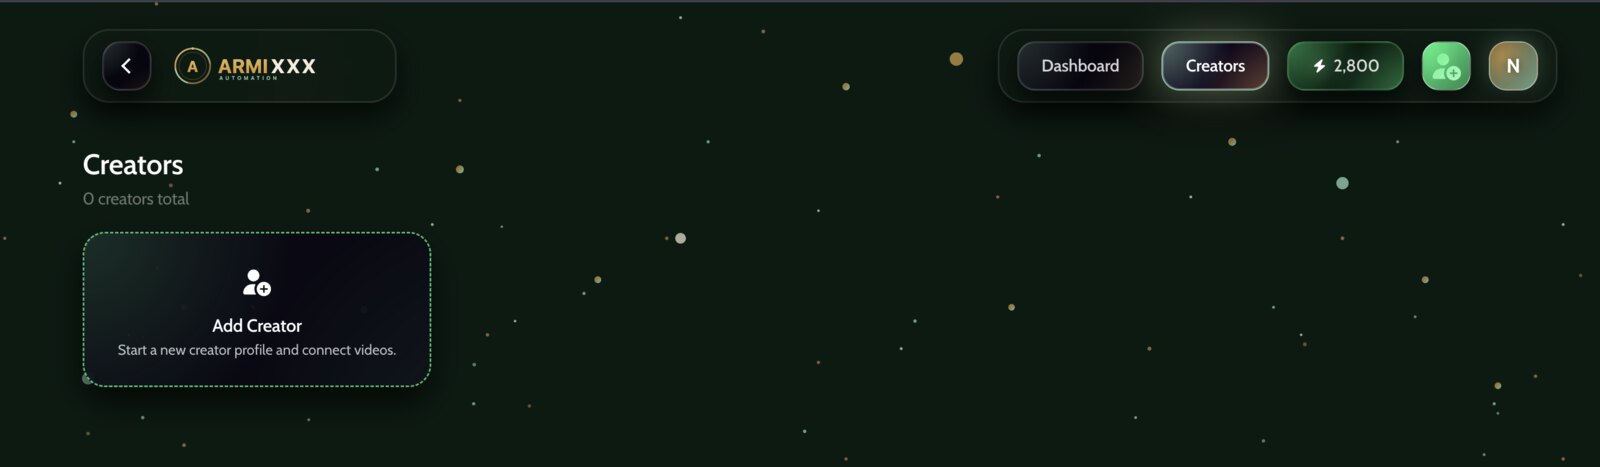
The header changes with you: on a creator page it shows the upload and add platform buttons; on the Creators list it shows add creator. The green counter next to them is your credit balance.
Tune how Armixxx scores, slices and labels shorts — per creator, so a flirty solo performer and a hardcore studio can live in the same account.
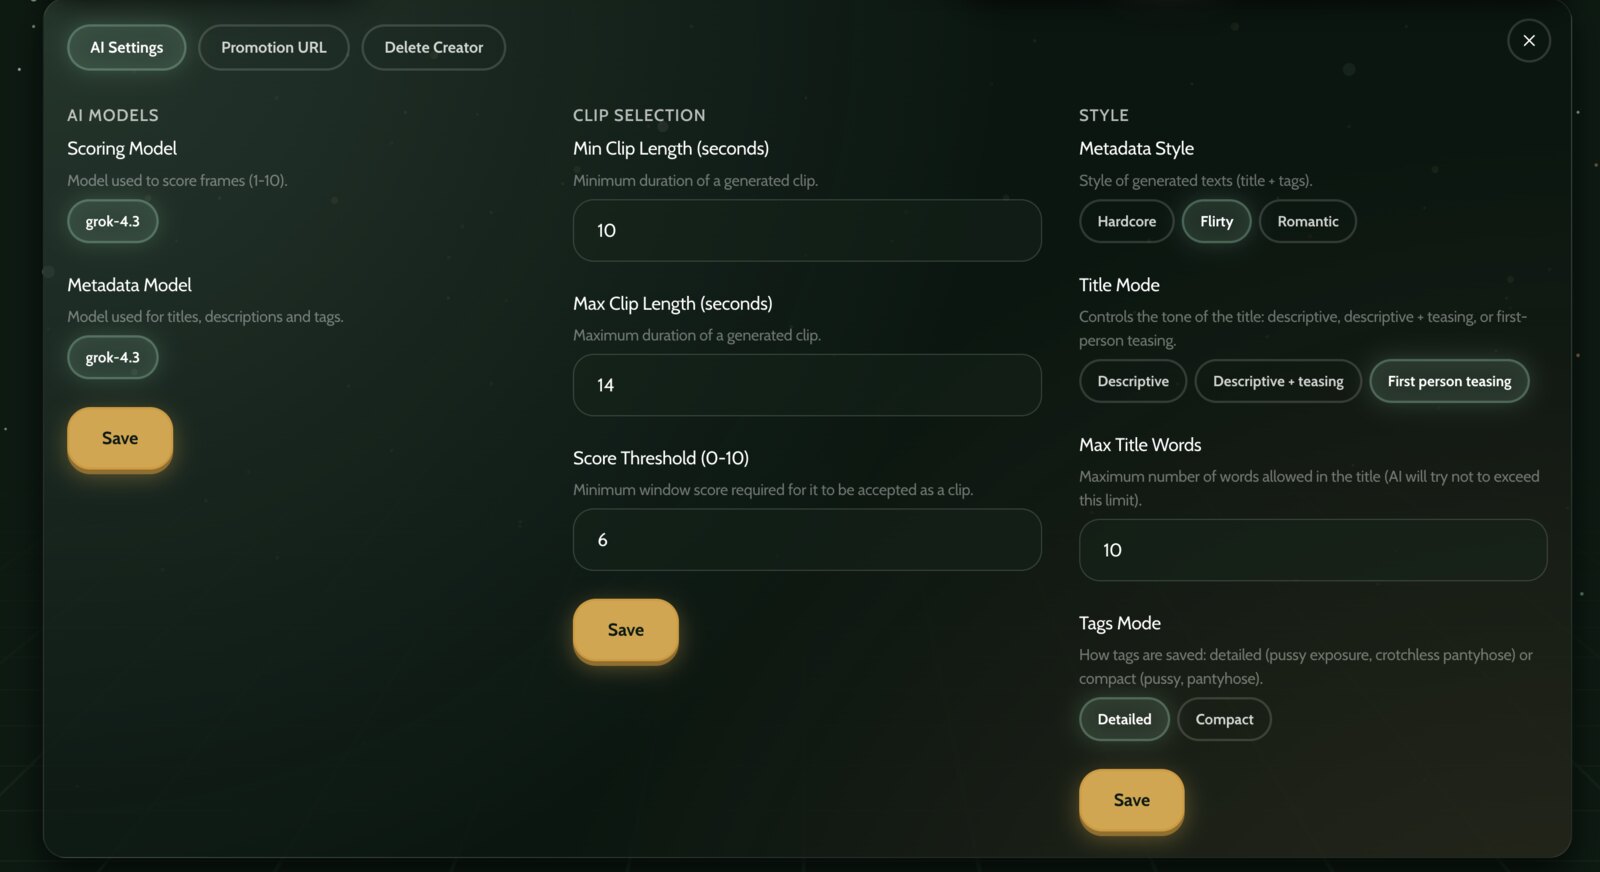
In the app: Creator Controls → Settings → the AI Settings tab. Three columns, each with its own Save button.
AI Settings. Models on the left, clip selection in the middle, text style on the right. Save each column separately.
AI models
Scoring Model rates frames from 1 to 10. Metadata Model writes titles and tags. Both run on Grok; the current model is shown as a chip.
Clip selection
Min / Max Clip Length (seconds): the duration range for generated shorts. 10–14 s is a good default for vertical feeds.
Score Threshold (0–10): the minimum average score a window needs to become a short. Lower it to get more clips from quieter videos; raise it to keep only the strongest moments.
Style
Metadata Style — Hardcore (direct and explicit), Flirty (playful, teasing) or Romantic (sensual, intimate). Sets the tone of every title and tag.
Title Mode — Descriptive says what happens; Descriptive + teasing adds a hook; First person teasing has the creator speak to the viewer (“Want to see me…”).
Max Title Words — hard cap on title length. 8–12 works well on most platforms.
Tags Mode — Detailed keeps specific tags like “crotchless pantyhose”; Compact shortens them to the base word, “pantyhose”. Use Compact on platforms with tight tag limits.
A solid starting point for a new creator: min 10 s, max 14 s, threshold 6, Flirty, First person teasing, 10 words, Detailed tags — exactly what is in the screenshot above.